Tuesday, May 22, 2018

I am Praysing the Needle!

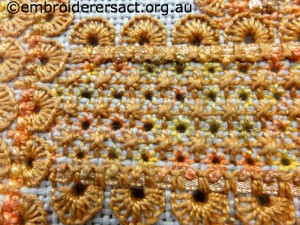
After admiring the Needle’s Prayse designs for years and actually kitting up one, I kitted up another (for a good reason) and got it going. Virtue Outshines the Stars has a copyright of 1984, which was in the early days of the current reproduction sampler movement. I’ve completed the top border of Queen Stitch flowers and the upper alphabet of Algerian Eyelet letters and numbers (including an ampersand!). There is a Queen Stitch in the middle of each grape. The colors are so soft and pretty. I’m stitching it on Zweigart cream 32-count Belfast linen and it’s taking up the full fat quarter of fabric.
And it’s one of the 100 Legendary Samplers made up some years ago, though I really think that list should be updated.


What I’ve done so far.           Queen Stitch flowers     Algerian Eyelet    A Queen Stitching the middle of each grape

Because of the age of my pattern, there was one funny little quirky problem. Do you see it?
     
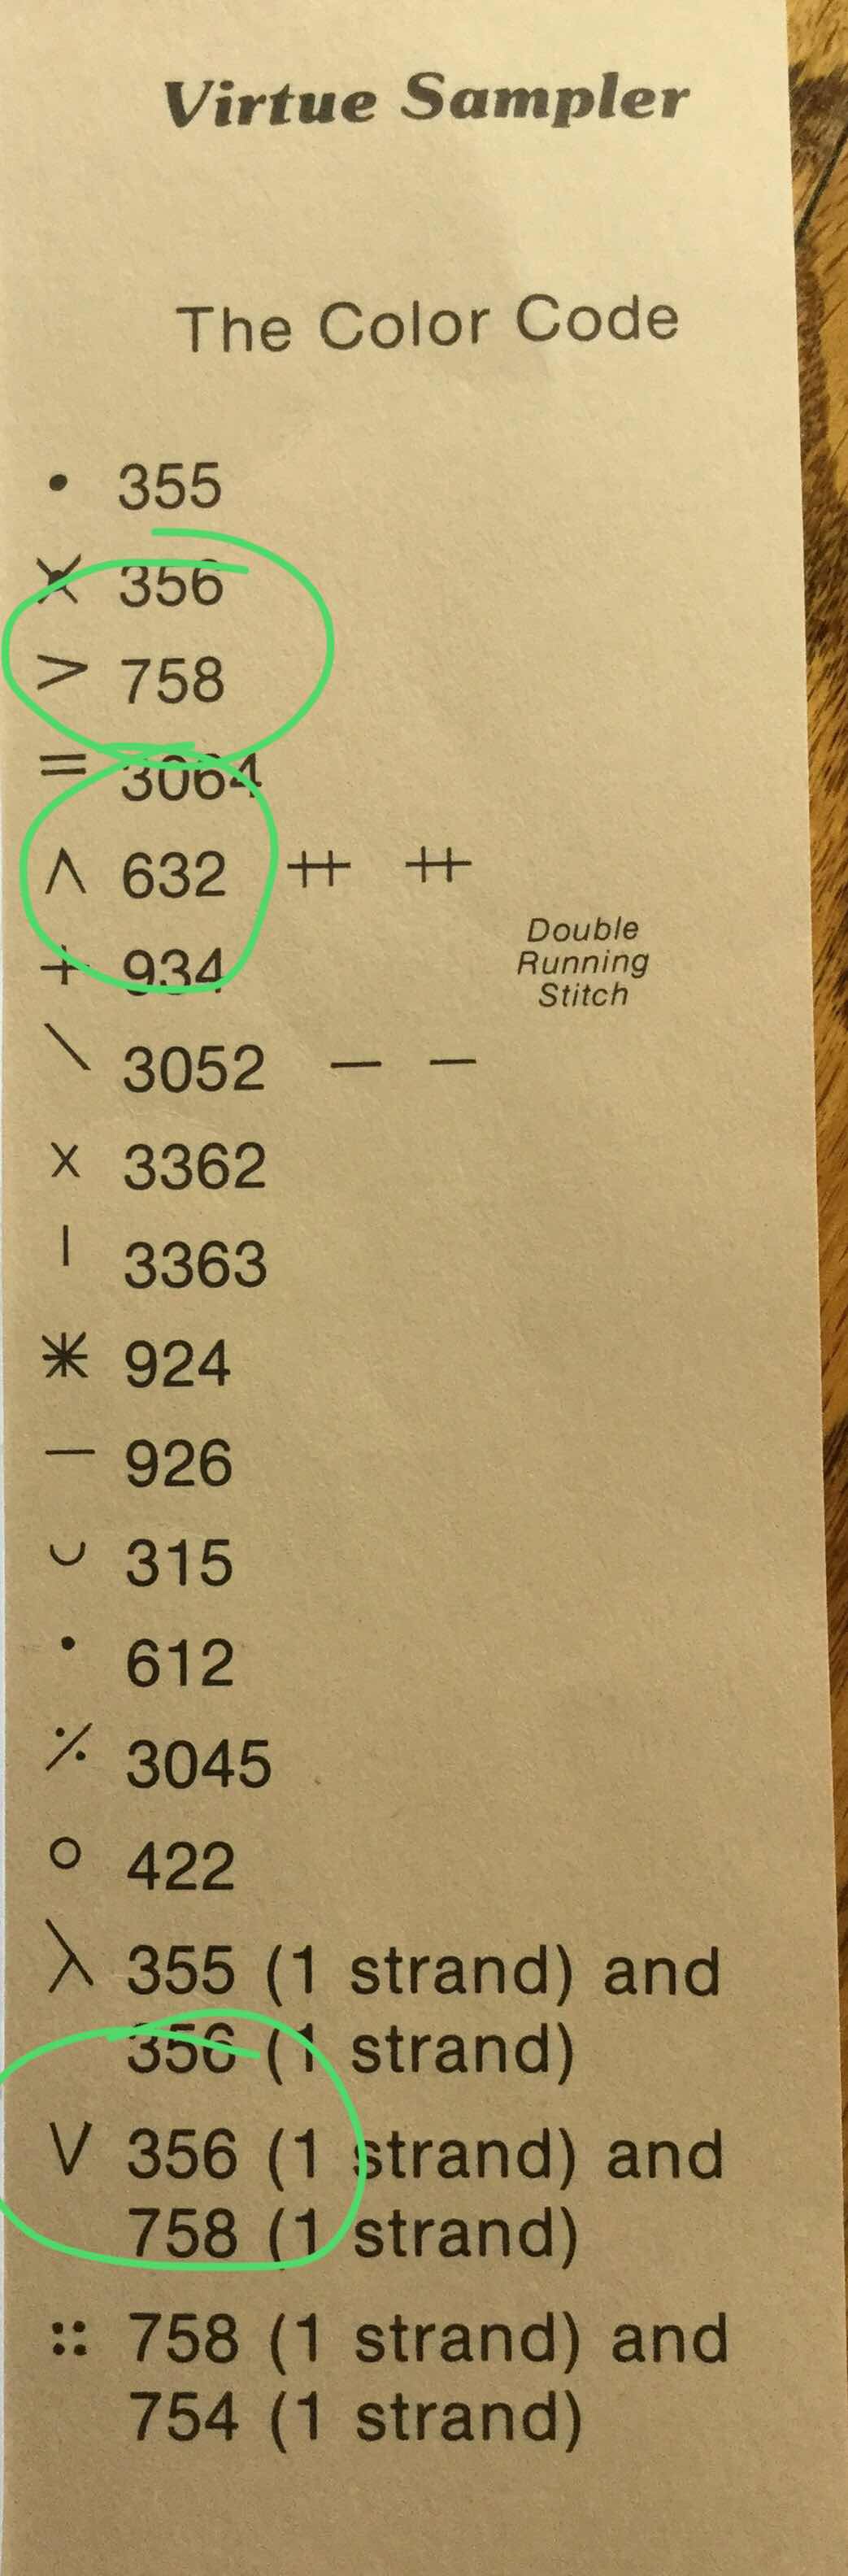
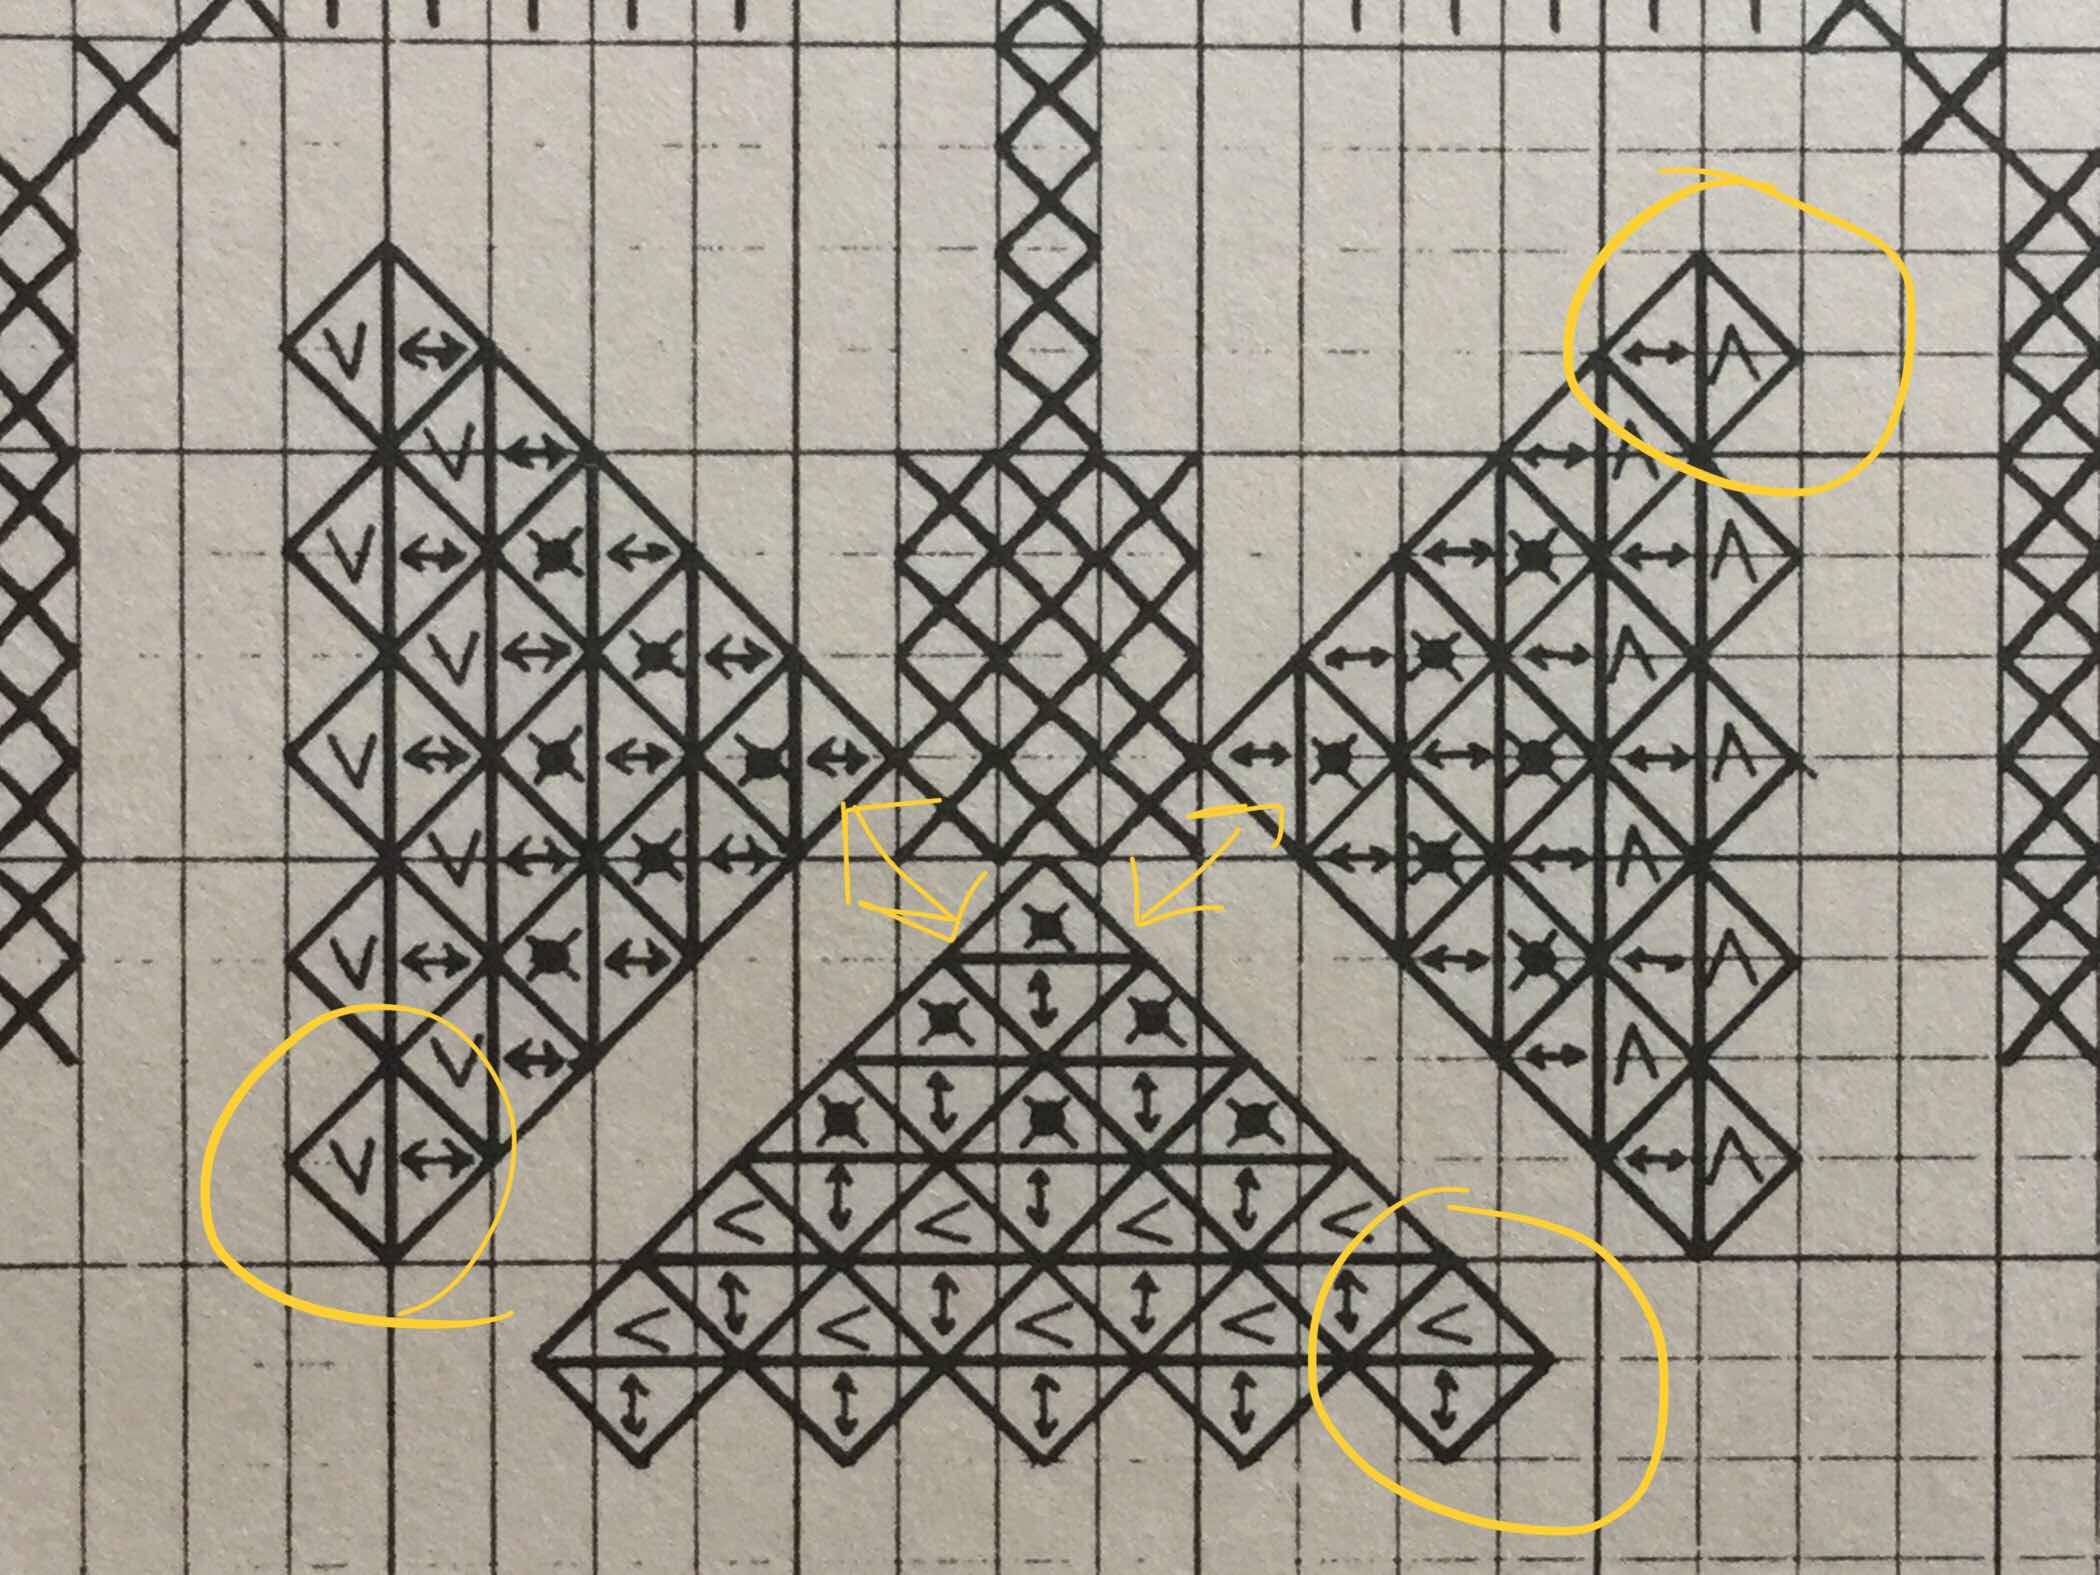
Yes, the original pattern was published in black and white. Notice the symbols on the flower. The inter stitches are all the same color. What about the outer stitches on the flower. What color are THEY supposed to be? Because they are right next to each other on the Color Code, I decided the designer meant 758 (the orientation on the next flower pulls that into play) and it looks good. But truthfully, we can change anything we like on our own pieces. 

And why didn’t I start the pattern I’d already kitted up? It’s the Cranberry Sampler (also on the legendary sampler list above) kitted in silks, which means it has to go on scroll rods. I wanted a project I could do on a hoop, which means it has to be washed and ironed and that means cotton floss. A trip to Joann’s with a coupon and linen out of my stash and I was ready to start! I did have a recent conversation with a teacher recently about the washing silk thing and she told me that many silks will survive washing. She suggested that I test it by stitching some of each silk onto a piece of my fabric, wash and iron it as I normally do, and check for bleeding. She does that herself. This makes silk thread more attractive to me since I feel quite strongly about being able to wash my piece when I’m finished. Hmm....


Monday, December 11, 2017

Planning for 2018

I have been making up a list of projects for this coming year. I’d like to say the list is firm but I know from experience that I’ll find new projects or get enamored of an existing project not listed so let’s call this list, hmm, “flexible.”

To Finish:  
Diamond Eyes by Threedles. Kurdy Biggs loves geometric designs and includes lots of “Hilton” stitches.
More Than a Rose by Melinda Sherbring. This EGA Group Correspondence Course is one of the reasons EGA membership is worth every dime.


To Start:
Love and Laughter by Amaryllis Artwork. I could find no trace of this online, I acquired this kit through as an EGA chapter project a few years ago and have wanted to start for a while.
Angel of Dreams by Hanky Panky Hardanger designs.
Sampler Santa by the Needle’s Notion.
I’ll also be taking two workshops this year, one for Star Dance by Margaret Bendig and Nine-Patch Tray by Terri Bay, so that’s a lot! 

I’m also the programs chair for Baldy View Chapter of the EGA, so I’ll be busy. In the meantime, I’m trying to finish up some projects to enter into the 
Stitchers Showcase this coming spring.

Friday, February 17, 2017

And They Sinned by Examplar Dames

It's raining here in Southern California, one of those hard end-of-drought storms that part of the drought/fire/flood cycle here, so sitting in my recliner listening to the rain while I stitch is the definition of cozy.

I finished Sampler au Bouquet by Jardin Privé.
             
I found a paper maché barrel, painted and varnished it, stitched a line of eyelets on each end of the sampler, and laced it on with pearl cotton. I like the way it turned out!
 
A few weeks ago I started stitching on And They Sinned by Examplar Dames. I'm stitching it on Flax Fields 36-count linen with the recommended Gentle Art Sampler Threads. Here's what I've done so far. I'm really enjoying this!


Friday, February 12, 2016

Progress on Sampler Au Bouquet


 Sampler au Bouquet by Jardin Privé is being stitched by a group on Facebook. It's officially part of my rotation along with the Butterfly, but I'm liking this so much that I'm pretty much just stitching this. So much for a rotation plan.


January 23
February 12


I have a start on the alphabet on the right side and those lovely dark pink flowers. Another stitcher on the SAL is doing her piece on hardanger and the colors really pop much more than on my linen.

I got interested in this project because of two finishing photos that people found on the web. They are both so pretty. Remember, click on a photo to see it larger. It's so fun seeing different finishing techniques. It really comes down to using a handle.

 This finished piece is from http://carpentrasbrode.over-blog.com/article-sampler-aux-bouquets-101508974.html

So pretty, so pretty. Imagine this with a glass handle, or even a big 'ole glass doorknob kind of thing.


This is really great, too. More stitching for the lid, but a beautifully done piece. Like a shaker box done just right.


Back to stitching!


Thursday, January 14, 2016

Butterfly Band 1 and setup

I am trying to do some posting using an app on my iPad, and I've just discovered that it does NOT do well with photos, so sometimes my posts are a bit awkward-looking. Oh well.

I have finished my band 1 on my Butterfly, also known as the Heritage Sampler Club from Nordic Needle.


 It's really pretty! I've photographed it against a black background so that you can see that I've done a pretty good job of not carrying threads. And that little hanging thing from the leaf on the left branch is a butterfly chrysalis. Click on the photo to make the photo bigger.

 Here it is photographed against a white background. When I was nearly finished with the right branch, I realized that both sides didn't match and I couldn't find the mistake. I ended up ripping out that entire side, basting along both sides for reference, and then stitching the right side NOT from the chart but by mirroring the left side. It turned out that there were two problems. I had made an error, but the chart for the right side also has an extra backstitch on one of the stems, essentially doubling my error.


Here is a picture of that coral knot edging on the butterfly. First the outline is backstitched and then restitched with a series of knots for extra texture. It is these little extras that give needlework dimension. Because of the twist in the thread, I had a terrible time working out of the body toward the right or clockwise. I just couldn't avoid bad knots. I found that working counter-clockwise was much better.


I also realized that I didn't talk about my setup for this project.

First, I chose a roller frame because, unlike stretcher bars, I only have a small section of the project to deal with at any time. I usually don't bother to lace the fabric to the sides but Linda Driskell tells you to do so. When doing pulled thread work, keeping the fabric under both vertical and horizontal tension allows for a better, more consistent pull of your stitching thread and better control of the fabric thread distortion, which is how you get that pretty lace appearance on the butterfly.

 First Linda had me run a basting stitch down the center of the fabric. This is a symmetrical design so having that center line will be really helpful. I then basted another line down a few inches to set the top of the design.


I then used the velcro attachment roller bars from American Dream Products because it is really fast and easy to get the fabric straight. I used pearl cotton to lace up the sides. I don't have drum-tight tension at all but it is an even tension in both directions.


Tuesday, January 5, 2016

First Time in Rotation

I have decided to concentrate on the Heirloom Sampler Club aka Butterfly and the Sampler au Bouquet 2016 SAL. I started the SAL a few days early since I had a whole night waiting in the hospital for my daughter to have a beautiful baby boy, Aaron.

Anyway, on January 1st, this is what my Sampler au Bouquet looked like this:


Today it looks like this:


The designer has you stitch the initials of your name in a lighter pink. I like that! I only stitched a few hours but I got quite a bit done.

So I now have to switch over to the Butterfly for a bit. Here is what I have done so far:


The piece is mounted on a 16-inch scroll frame and laced up the sides to create a consistent tension on the fabric both side to side sad up and down. The butterfly is outlined with a back stitch and then highlighted with coral knots on the top. I like the effect and will try for a better photo later. This piece took a fair amount of time to set up but it will look really great when it's completed. 

Here is the project photo from Nirdic Needle. 
I should be completing the second band by now but you can see that I'm behind. That's why I've decided to commit to a rotation this year. I love, love, love to start new projects but then I start another one and then another one and the older ones that I still love disappear into the WIP pile. The first half of each month is for the Butterfly and the second half for the Sampler au Bouquet to stay on task. Let this be the year of completion!

Saturday, December 26, 2015

What's the plan for 2016?

It's usually better to have a plan. Going by my stash, my plan is to stitch 24 hours per day for 365 days.

My stash is a big fat liar.

My sadly genuine plan is to start a formal rotation on the pieces I want to complete this year. So what would I like to finish?

Tanya Berlin's Hapsburg Lace Sampler
I'm working on this for my EGA project using Old Gold Valdani pearl cotton on black canvas.

Linda Driskell's 1994 sampler club
This is through Nordic Needle as Heirloom Sampler Club and so far it's pretty fun. I took one of Linda's last classes through the now-defunct CATS stitching seminars and she was a wonderful teacher.  I just received part 3 but I'm only about 1/2 way finished with part 1, so I've got to get hot on this.

Threedle's Cathedral
Holy smokes this is beautiful! I just acquired this chart and the colors and threads are amazing!

Marbek Nativity
Ive been working on this on and off for years. I've got the main portion of the bottom central panel nearly done. The challenge of this is actually the size. It's on a big scroll frame and it's awkward to stitch. It's best on that type of frame because I can't wash it, do it will be slow going but it is pretty.

Jardin Privé Sampler au Bouquet 2016 Facebook SAL
 
I am looking forward to this.

Classic White Runner Kit from Nordic Needle
I've been working on this, again, for a few years. It's not hard but I stitch on it then move to something else.

Beaded Christmas Ornaments


I found a beaded ornament pattern and want to make more. They are beautiful and easy, a relaxing break from other kinds of needlework.

I'm looking forward to a very good year.

Stockings 2015

Merry Christmas!

My kids came over for presents and dinner. Presents include a filled stocking. It's become part of becoming part of the family. I had Shane's stocking stitched last year but didn't get it finished until this past summer.. Here is a picture of all our stockings.
Jonathan and Shane's stockings are cross stitch and the others are felt except for mine from childhood. 


Wednesday, October 21, 2015

Kumihimo Fun

I went to the quilt show at the Pomona Fairgrounds recently and saw a booth, Kumihimo with Margo. I'm sure that every crafter in the world is shocked SHOCKED that I had purchased a project from this same business 18 months ago and had put it away, unstarted, in a drawer. I know, I'm the only one on Earth that's ever done this.

I'm so ashamed.

Anyway, kumihimo is a braiding technique that lets you create a cord from a minimum of 8 warps or individual threads up to, well, any multiple of 4 that will fit on your disk. The foam disks sold just about everywhere usually have 32 slots which easily fits 28 warps. Adjusting the pattern of warp colors let you create intricate braided cords. But why would you want to make your own braid? Well, we make twisted cord all the time for trimming pieces. A tightly-braided cord would be much more durable for something like a scissor fob or neck strap. It is an additional technique we can utilize to make our handwork genuinely hand-worked.

I had purchased a 16-warp bracelet set up from Margo's shop, consulted the three books I'd also purchased, and I finally got it started.
My disk set up with 16 warps

You can see the threads that were part of this project. The warps were already tied together when I bought them, but I think that they are a Rainbow Gallery threads, a red ribbon, a green ribbon, a gold metallic, and a silver metallic. The braid has a weight on the bottom to keep the tension consistent and works up really fast. The braid measured about 10 inches when finished and took maybe 1 1/2 hours to complete.  
Here is my braid with a skein of floss for size comparison.

Comparison for length.
I eagerly dove back into my kumihimo books for more information on what I could use to make a kumihimo braid. I kept seeing Rattail mentioned. Yes, genuine Rattail is a copyrighted product made in the USA from rayon while most of the big box stores carry a copy made from nylon made in China, but how different could it really be? I hurried down to Hobby Lobby and found some satin cord in the fabric department. I bought four colors to made an 8-warp braid for Halloween since the cords were so thick I really didn't want to work with 16 warps of this stuff.


All set up, ready to start my satin-cord braid.


 Look at the cover of this book. Aren't those lovely braids? Many of the braids in this book are made of satin cord using 8 warps. I knew that I would have a beautiful braid too.


I got something very different.

I did not get beautiful.

I got ugly. Really ugly.


This braid is about 18 inches long and big and thick. I mean dog leash thick. It turns out that that cheap whopper satin cord, at least what's sold in the Hobby Lobby trim department, is too big and rough for a really lovely cord.


Here are my first 2 cords next to each other. First, the spiral on the big 8-warp is there, just not well defined. Also, though it uses half the warps of the first braid, it's really big and thick. Not what I was thinking at all. You can even see the differences between the way the materials lay without being braided. Softer and smaller materials really did make a smaller, softer, and more elegant braid.


 So back I went to Hobby Lobby. I didn't want to spend much money on my braid since I wanted to make a simple braid to use for a Halloween necklace. I found some #3 crochet cotton on sale in a Halloween variegated color. I combined that with some #5 black pearl cotton, some #16 gold braid from Kreinik, and some 1/8" satin ribbon and made this braid. I played with the variegated aspect a bit and ended up with a fun cord.


Some end caps, a clasp, and a bat pendant and some beads and I have my custom-made Halloween necklace.
The variegated color smoothly changes around the cord. I did that on purpose.
All in all, I spent maybe two afternoons on all of this including shopping time, so it really is something you can learn and complete pretty quickly. I can't stitch in the car but I could easily do kumihimo. And of course I did an online search and found lots of patterns you can make by changing the colors and number of warps. Adding beads brings a new dimension to a project.

Sunday, September 13, 2015

My name is Ruth, and I am a needlework addict

I posted the other day about Tanja Berlin's Hapsburg Lace Sampler I'm doing through my EGA chapter. I write my chapter blog and here is more information about our project. What I did find interesting in my research and a bit of asking around is this tidbit:  Hapsburg Lace is a made-up technique. It sounds historical, but it's not at all. It was just the name of a chart.

I am an addict, and like so many addicts I promote temperance or outright abstention. But I AM an addict. This is why one evening I bought this on, I think, Amazon. Because I...must...OWN...IT!

Yes, this is a nice fresh scan of the chart that appears to have started it all. Like so many older charts, the analog photo isn't really very good at all even if it is enlarged substantially.

So let me give you some details from the charts inside. The model was stitched on tan canvas. If you take a little peek at the enlarged photo THROUGH the lacy band stitches, you will see tan. So where did the red come from? All that color is little multi-direction tent (aka 4-way continental) stitches in a floss to match your ribbon color. Again, enlarge the photo and you can see the pink ribbon.


Here is a scan of the inside front cover. I wanted you to see the designers' names, Carol Costello and Jinell Ibey. A quick google search shows some nice photos of designs attributed to either or both of them. In fact, you can still order some of Fancy Work & Fantasies designs here. As you can also see, this was published in 1980, fairly early in the counted thread revival in the late 20th century. Back then there was no graphic software available for designers so everything including the layout diagram was hand drawn. See kids, you DO use geometry after high school!

The design is divided into six separate ribbons comprising five separate little samplers (#4 and #6 are the same). Each stitched ribbon incorporates a length of colored satin ribbon that can coordinate with those tent stitches. All the ribbons are stitched with #5 and #8 pearl cotton in ecru on 14-count mono canvas. And it does have to be done on mono canvas, because you have some pulled work on this. Congress cloth is too closely woven for the fabric threads to displace well. Linen would be too soft as the stiff canvas is really what makes this pop. The basic stitches used are those tent stitches, various eyelets, smyrnas, and french knots over the tent stitches to make those corner roses.

So I have to say I really like this technique. Tanja Berlin took this idea and really ran with it, creating some fun pieces that introduced a whole lot of stitchers to an idea that came out of a couple of Southern California needleworkers in 1980. Google "Hapsburg Lace" and click on "images" for more fun pictures.

Now, how do you take a project from 1980 and modernize it up? Because 2015 - 1980 = styles have changed.


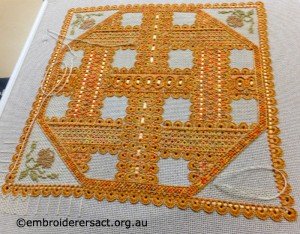
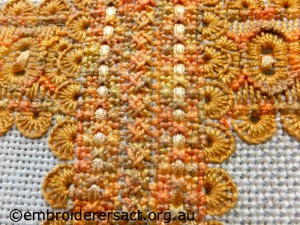
Here is a photo I found on an Australian website. Jan Hure is the name of the needleworker. You can see that she has combined an overdyed pearl cotton in the middle with a solid color for the edges. Nice. She changed out the rose colors and it look like she didn't use the tent stitch background.

Remember, click on a picture to enlarge it.


You could use a brilliant varied overdye as the accent floss, or add some metallic thread as part of the ribbon design or even in place of the satin ribbon. Stitching it on 18-count with #8 and #12 pearl cotton (like Tanja does) would make it smaller and a bit more modern. Also, why stick with a rose in the corner if you could add a bug or a skull? Initials are always good too. Why do all the stitched ribbons have to be the same color?

And for goodness sake, don't assume you have to finish the pillow like the chart's photo. Really, I promise you, it's okay.

Check out my EGA blog link above and see what Yvonne did to bump up her project. More photos of our chapter project will be added as I see more finished work.


Now, it's not likely that I'm going to actually stitch this guy. (Though to confess I DO happen to have some white 14-count canvas in my stash and some pearl cotton that would be just great for this. What a coincidence!) My addiction is often satisfied just by ownership of the pattern. I am like a dragon hoarding not gold but lots of paper covered with strange little runes.

Saturday, September 12, 2015

Back in Ventura

Wow, I really thought I'd posted in the past several months. My good intentions really count for absolutely nothing. That explains my diet attempts.

Sheesh.

I have finished some things over the past YEAR since I last posted and will get some photos and descriptions up when I get back home. Yup, I'm back at the timeshare in Ventura California. It is so nice and quiet here. It is supposed to be my personal stitching retreat so here's what I've got.


This is the Hapsburg Lace Sampler by Tanja Berlin. My 
EGA chapter Baldy View is stitching this as our chapter project. 

As you can see, I did not clean up for the photo. Also, that gum container is to store my pearl cotton balls to they don't go careening around the room. I finally can justify loving gum. I chose to stitch my project in colors favored by the designer.  It is spun gold Valdani pearl cotton on black 18-count canvas. The canvas edge isn't taped because I wanted to get started and didn't have the right kind of tape so now it is getting ragged and rough. If I was using floss or God forbid silk or a twitchy thread it would be a problem but I think it is acceptable with the pearl. It is working up really pretty. It has a lot of eyelets and even on what she calls double cross stitches and what everyone else calls smyrnas, you need to really pull to get a good neat look. The white towel serves as a contrast so I can see the black canvas threads.

While I was here, I made a trip to 
A Thread Garden in Camarillo. The shop has a good collection of Rainbow Gallery threads, Kreinik threads, and many other lines, but most importantly they have the entire color line of Presencia cotton threads, both the floss and the pearl. I don't know about the size 3, but they have the pearl in 5, 8, 12, and an amazing 16! This way, if you want to convert a design using pearl from 18-count canvas to 24-count congress, you can still use pearl cotton. And it is in a wonderful color range as well. The threads are long-staple Egyptian cotton. With other line cutting back on their pearl lines, having a good source of pearl colors here in Southern California is absolutely delightful.

Wednesday, September 3, 2014

Done With the Stocking Stitching

Here is the stocking and some detail pictures. It has been washed and pressed. I still have to attach the reindeer harness and some beads, but it is oh so close to done.