First, Linda recommended that beginners especially use a hoop with the fabric held loosely. Most teachers recommend no hoop (or stitching in-hand) but Linda felt it helped to have something to hold onto. Tension in the kloster blocks (the stitches that actually stabilize the piece) need to be medium, firm enough to keep the background fabric in place and to lay consistently flat but not to distort the background fabric too much. Then we talked about using a "magic needle" to open up the thread areas to be cut and about "snugging up" our scissors to get the closest cut without damaging the stitching thread. We talked about weaving bars and doves eyes and picots and filling stitches. It was a great class. It also turned out to be her last. She was leaving the business to take care of her ailing husband. Linda was an important national teacher in the areas of pulled and drawn thread work and she did some great designs that are still available.
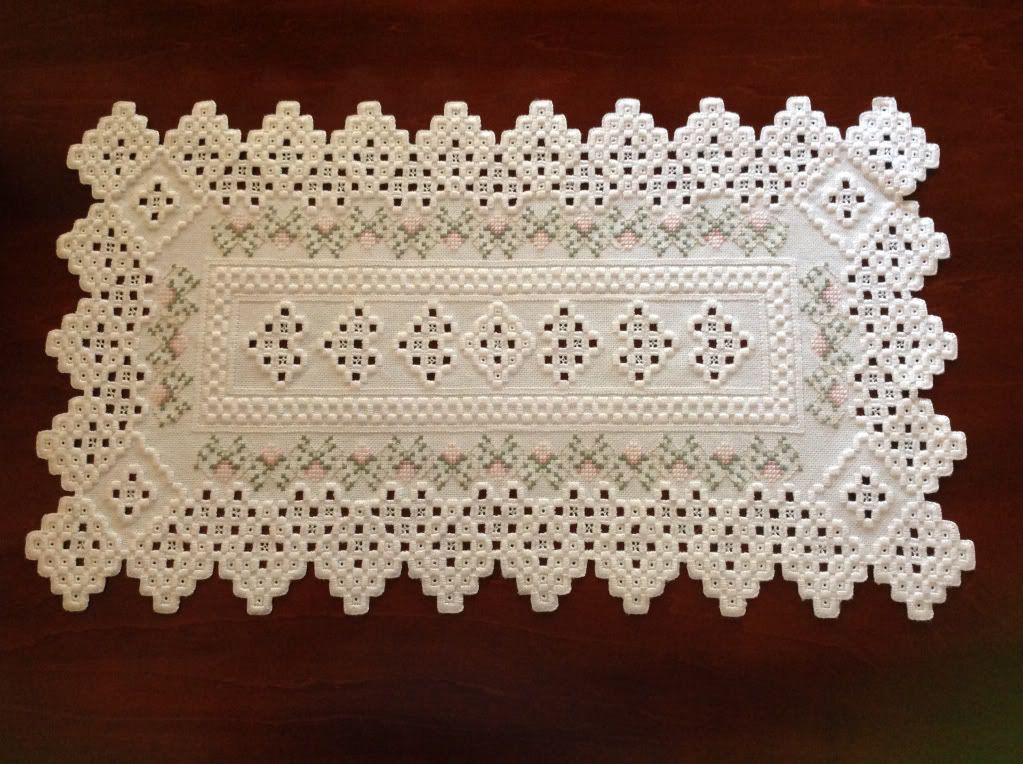 |
| Spring designed by Lori Birmingham stitched by Ruth Plummer |
Ironically I never did finish Linda's class piece but I did feel more confident about hardanger. The next year I took a class from Lori Birmingham for this runner named "Spring."
And I actually finished it!
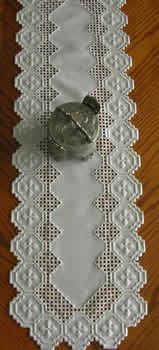
So on to my current piece. Here is the photo of the finished project from Nordic Needle's website. This runner calls for simply weaving the threads into bars to create the lace look without added elements like picots or doves eyes, making it a beginner level piece but, I think, very elegant. Hardanger looks delicate but is tough enough to be used for napkins or even towels.
I'm stitching this project in-hand. I don't feel the need to use a hoop for a project this size and I've gotten much better at evaluating my tension that when I was less experienced. It also lets me use a sewing motion instead of a stabbing motion, allowing me to stitch a whole lot faster.
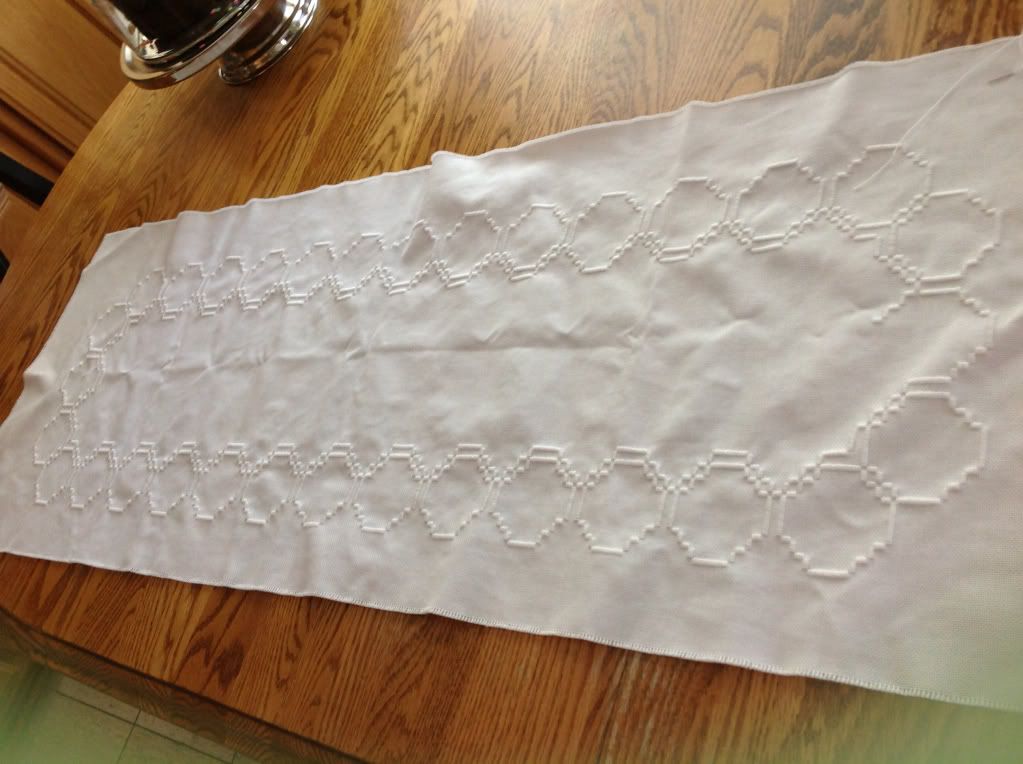
Here's my piece so far. It's not quite as pretty as the final piece yet. The stitching consists of four elements: the satin stitch or kloster block stitches that make up the majority of the design outlines, the buttonhole stitch used to create a more secure edge, the satin-stitched floral motifs, and the woven bars. All the stitching needs to be done before I cut a single thread to begin the drawn thread work. You can fix it if you cut the wrong thread but it's much much easier to count carefully and not make that mistake in the first place!
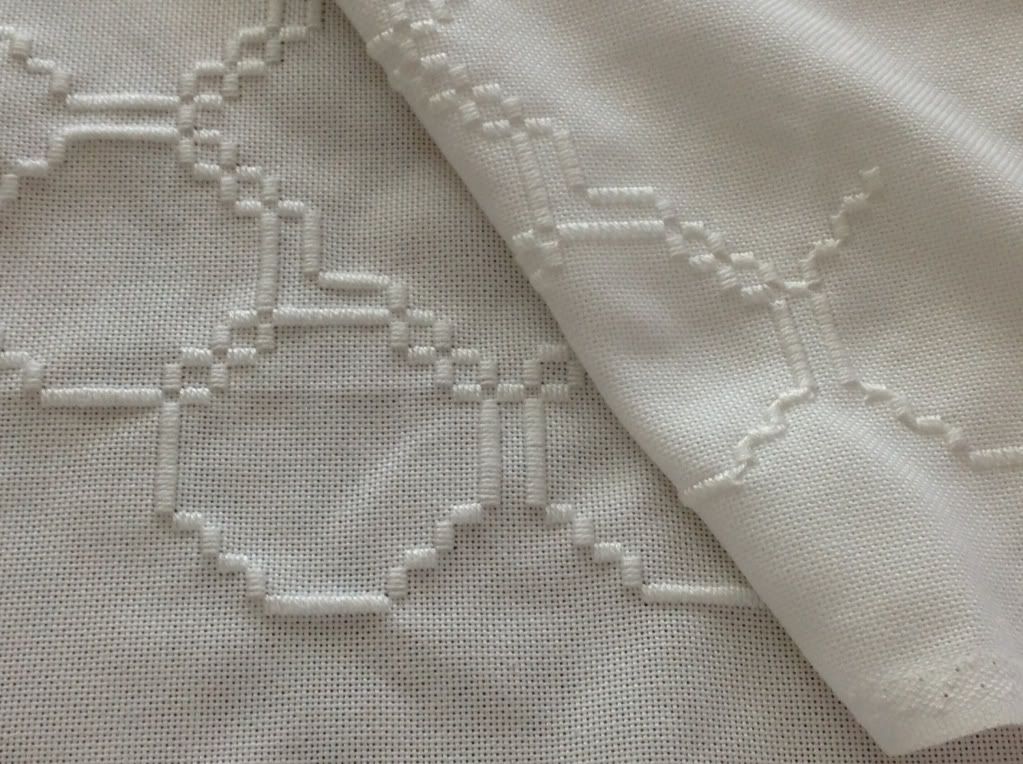
Another challenge with hardanger is making sure I consistently stitch on the correct side! The left of this photo is the front of the piece and the right side is the back. If I don't look carefully it's easy for me to stitch on the wrong side. Then the frog is loose, calling me to rip-it, rip-it. I've already had to rip out an entire half because of a counting error I didn't catch so I don't want to rip out more of my work.
There are amazing photos of hardanger embroidery all over the web. Do a search and be inspired. Nordic Needle in Fargo, North Dakota has a great website with lots of information and they have the best annual seminar ever! For those of us in Southern California, Needlepoints Ltd. in Garden Grove does offer classes in Hardanger on Thursday mornings though it looks like you can arrange private lessons as well.



.JPG)


